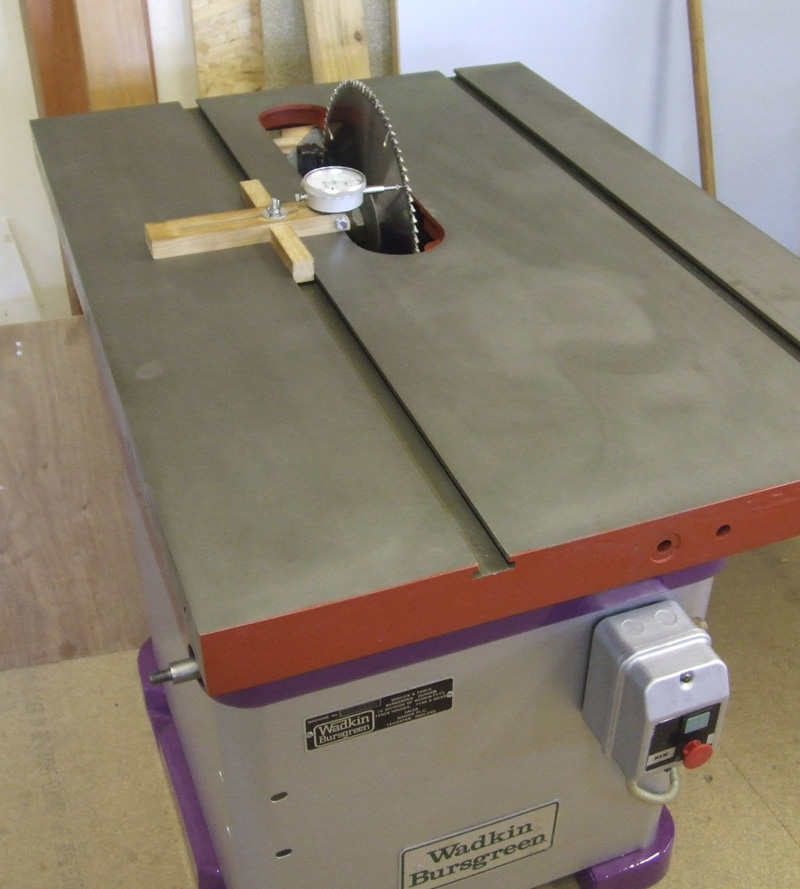
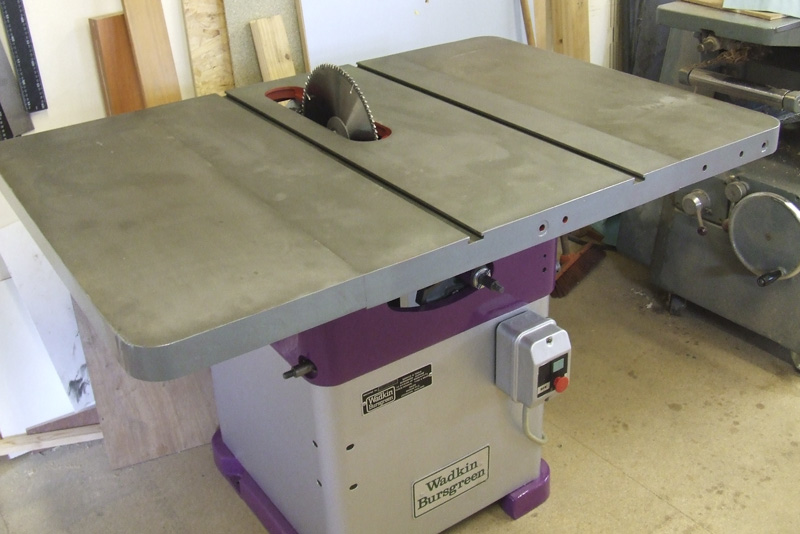
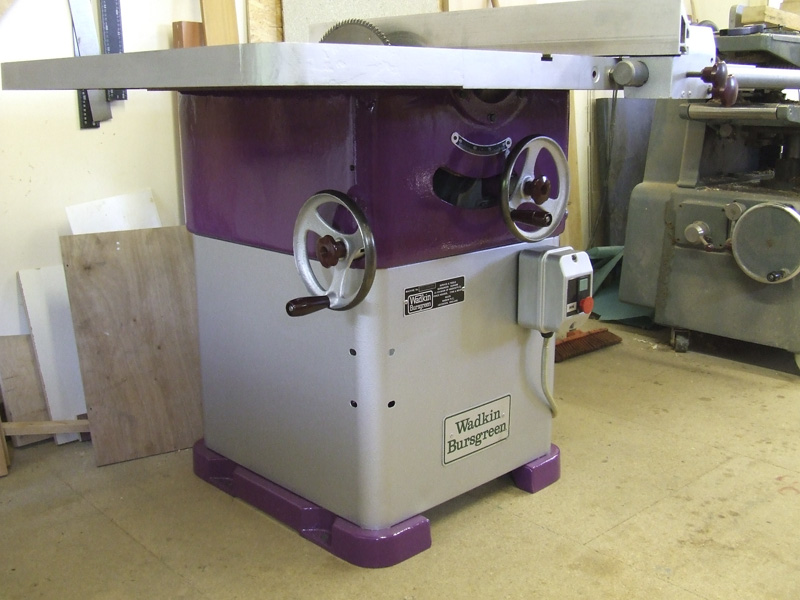
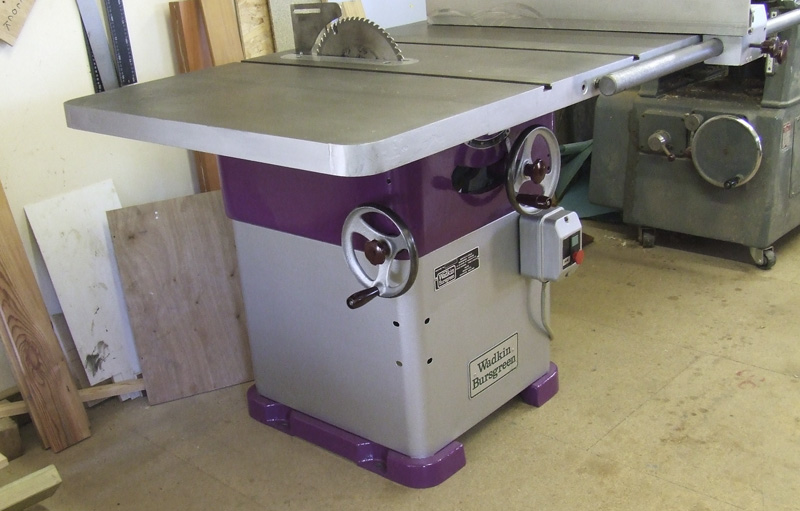
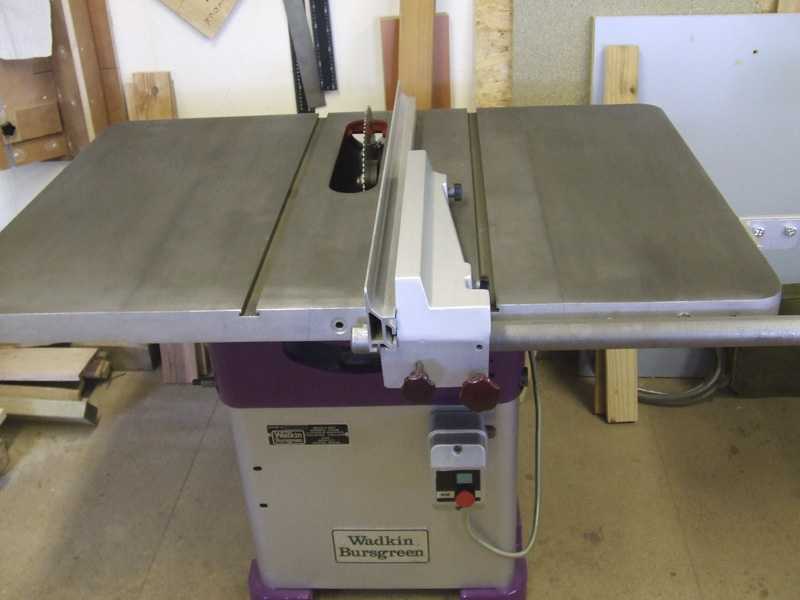
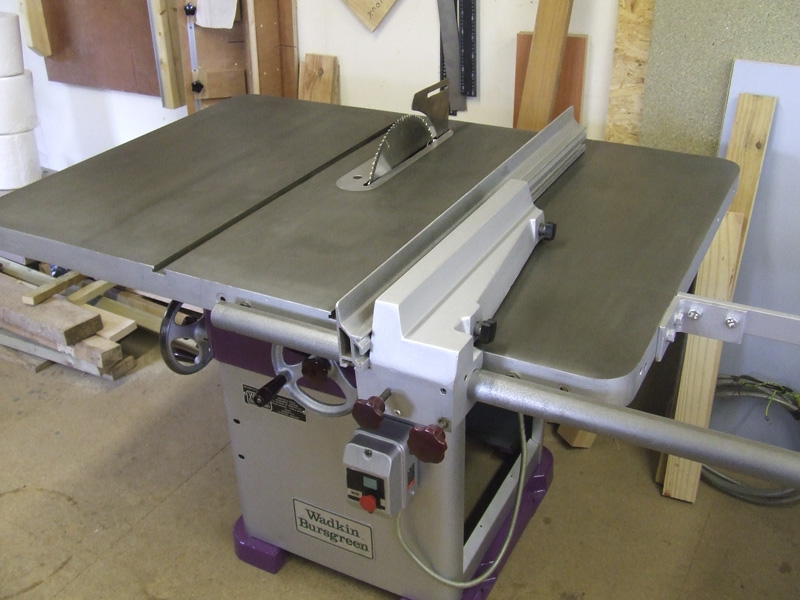
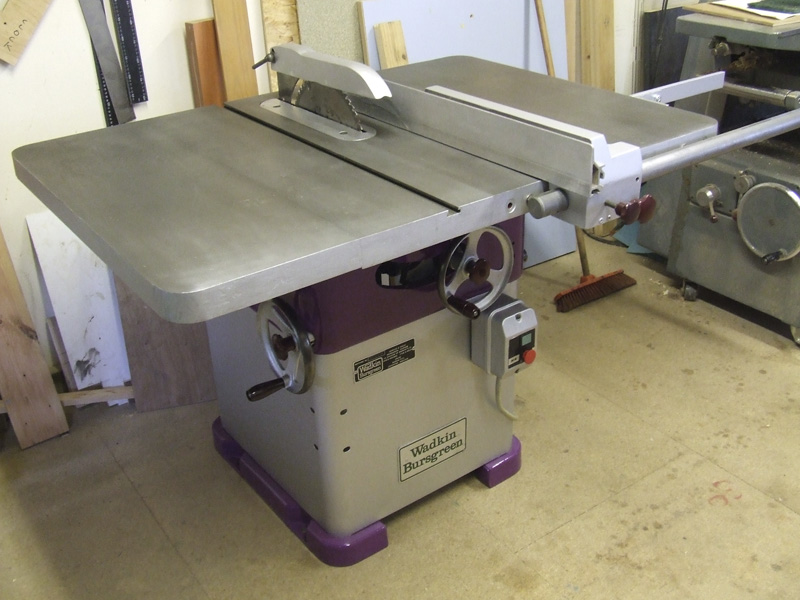
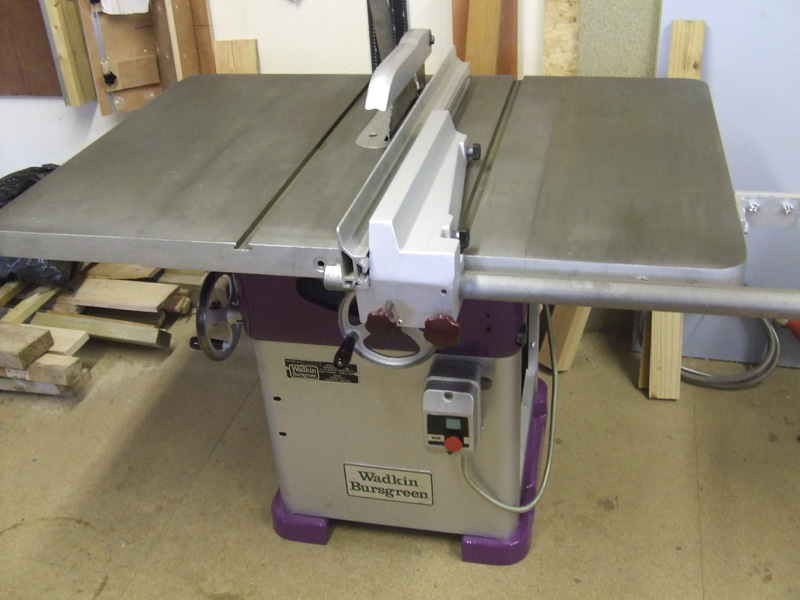
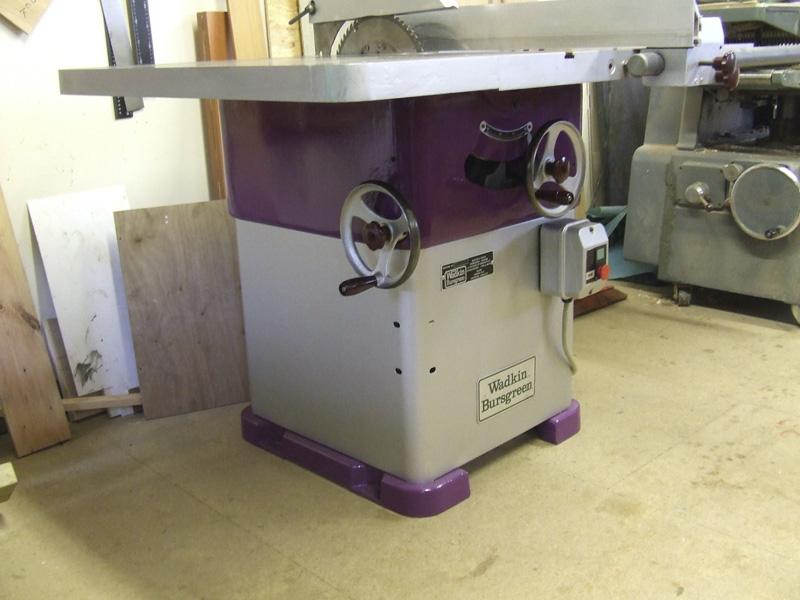
This is a step-by-step rebuild of a Wadkin Bursgreen 12 AGS table saw.
The machine was completely dismantled and every part was meticulously cleaned, de-rusted where necessary, and then either painted or polished.
New spindle bearings were fitted and also a new pinion assembly into the fence.
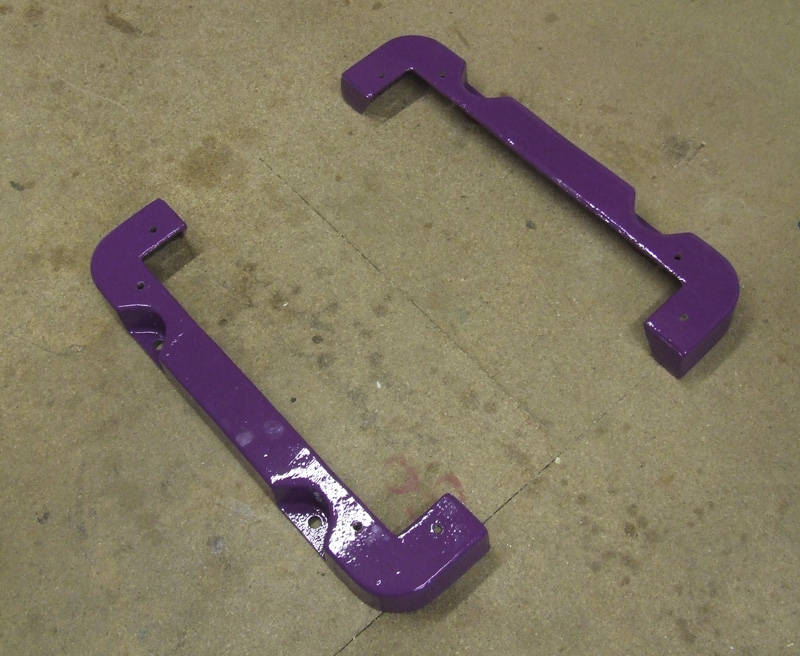
First step was to lay out the cast iron feet.
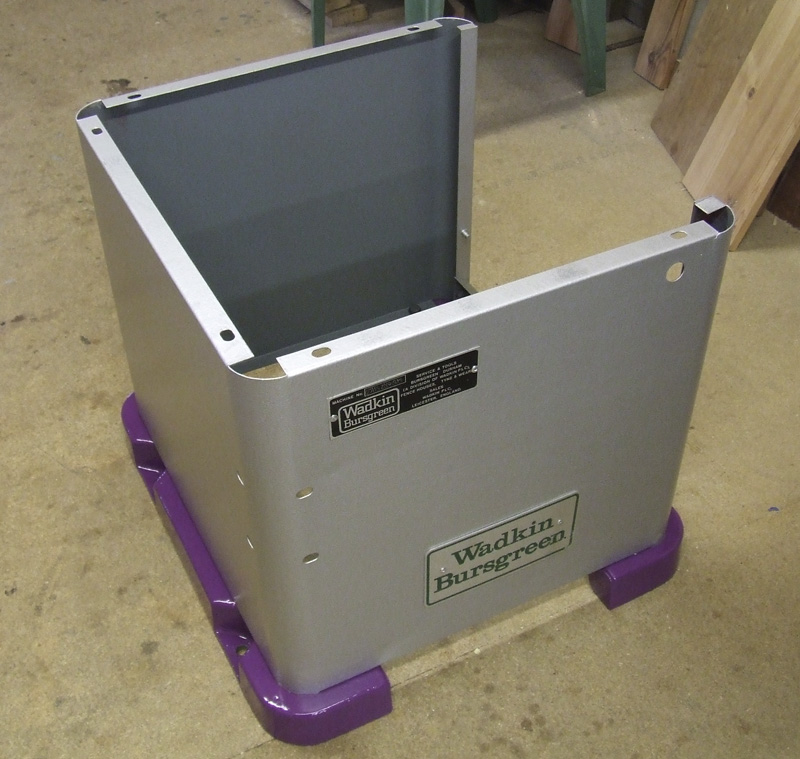
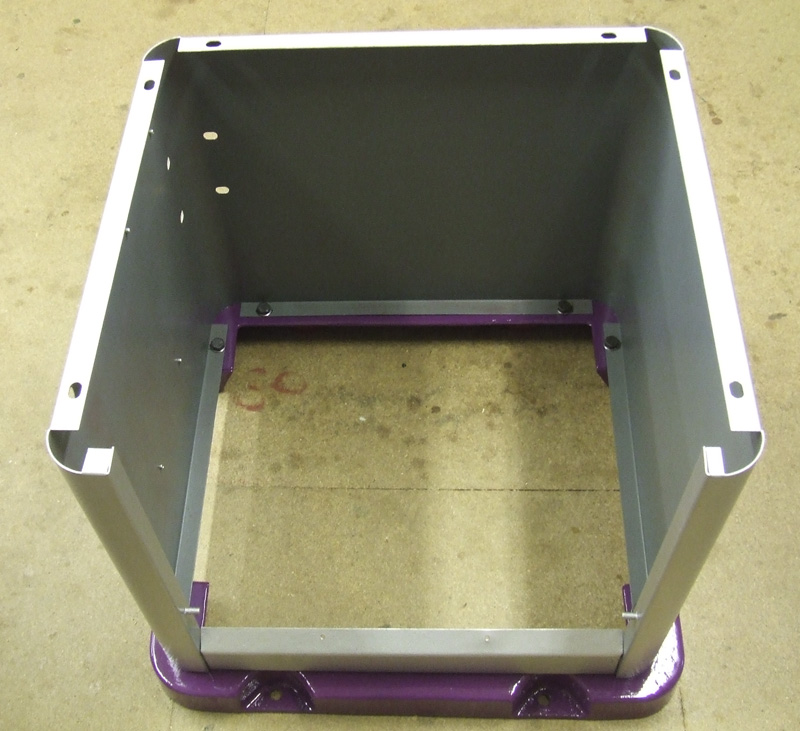
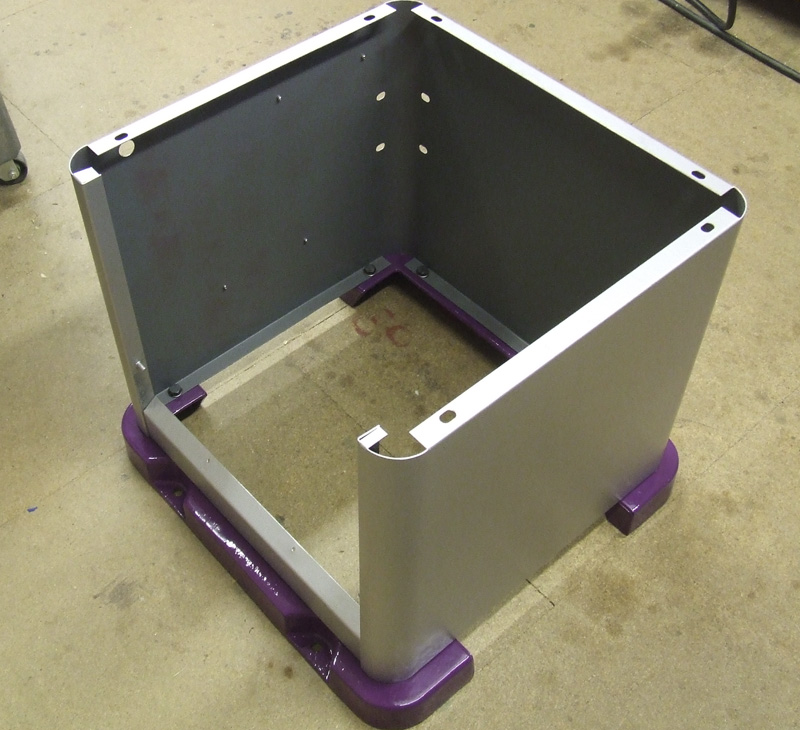
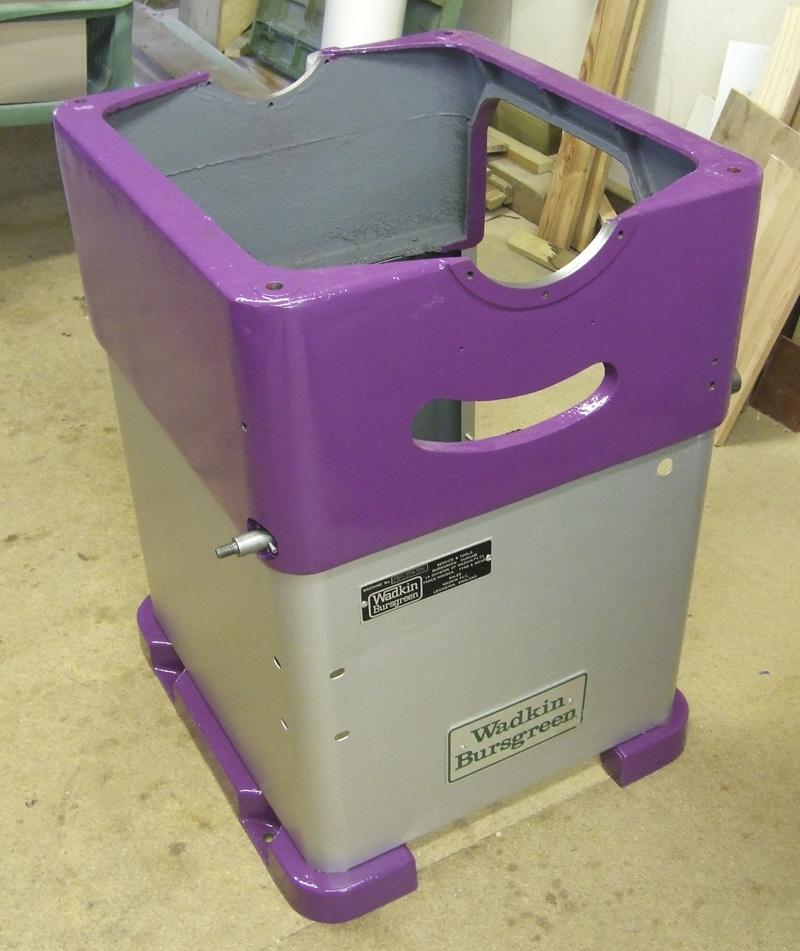
The next step was to bolt the steel cabinet base to the cast iron feet using eight 20mm x 10mm bolts and washers.
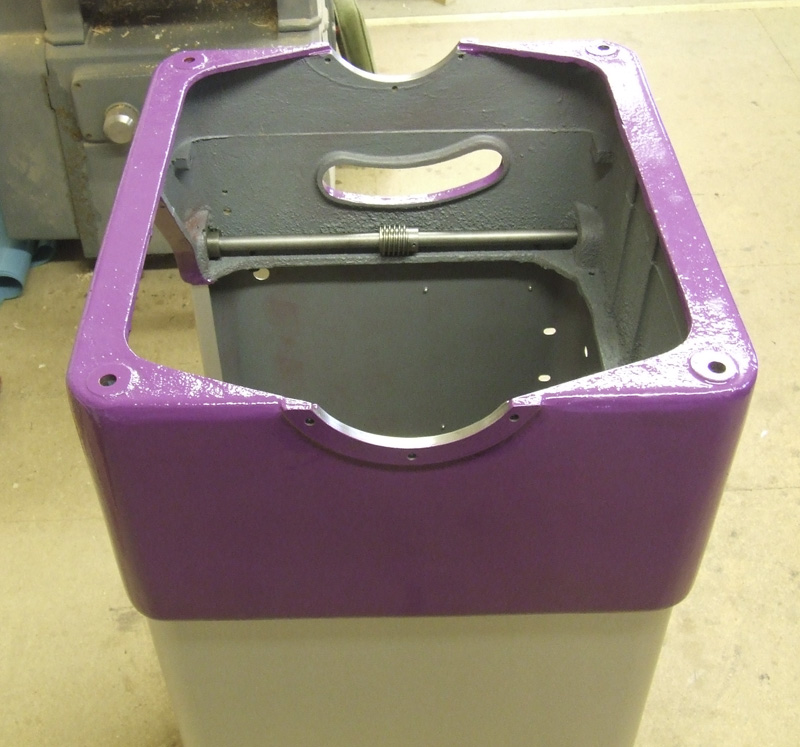
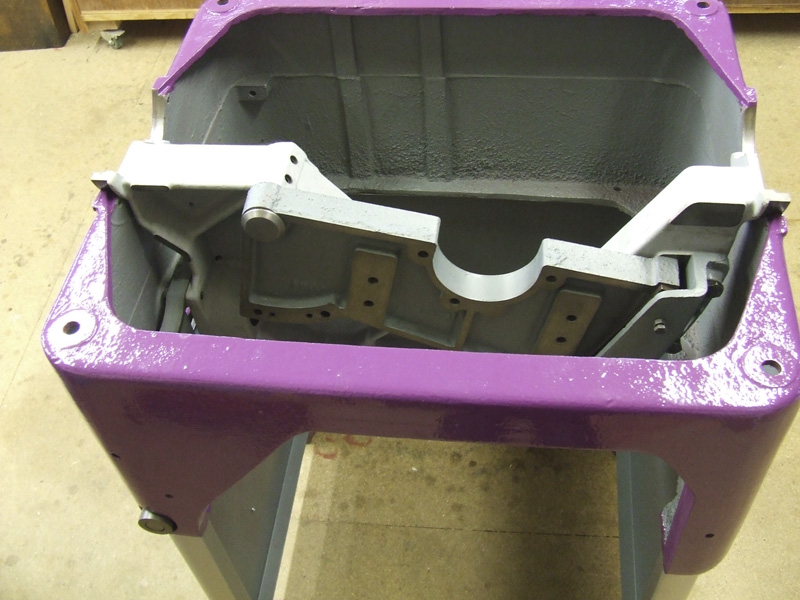
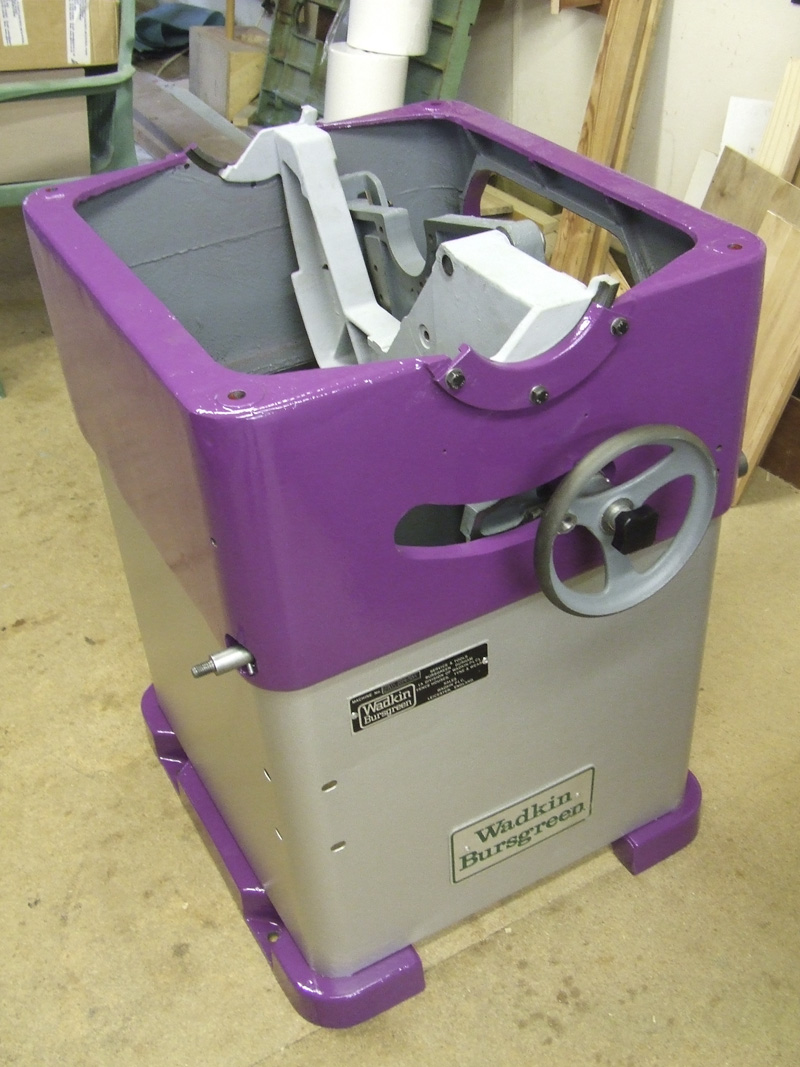
The next step was to bolt the main frame to the base. The main frame is constructed from cast iron and it’s a heavy beast to lift on. It’s fixed with six 20mm x 10mm bolts and washers.
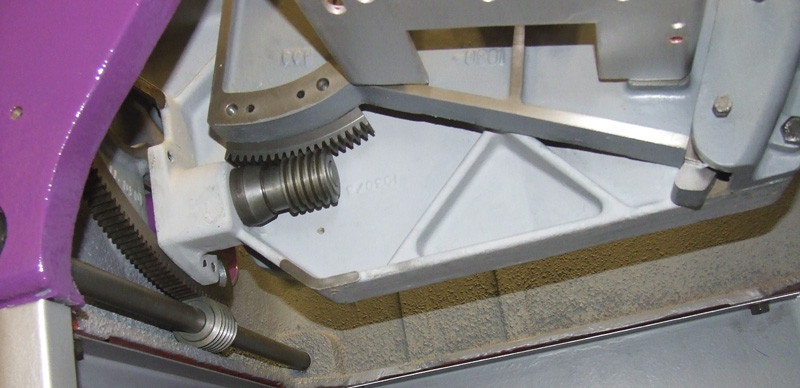
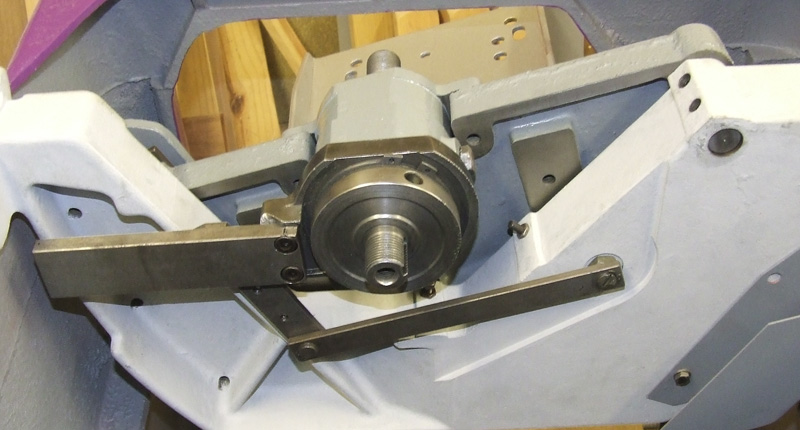
The canting shaft had been removed and was cleaned and polished along with the canting shaft collars. Both oilite bushes were in perfect condition so did not need replacing.
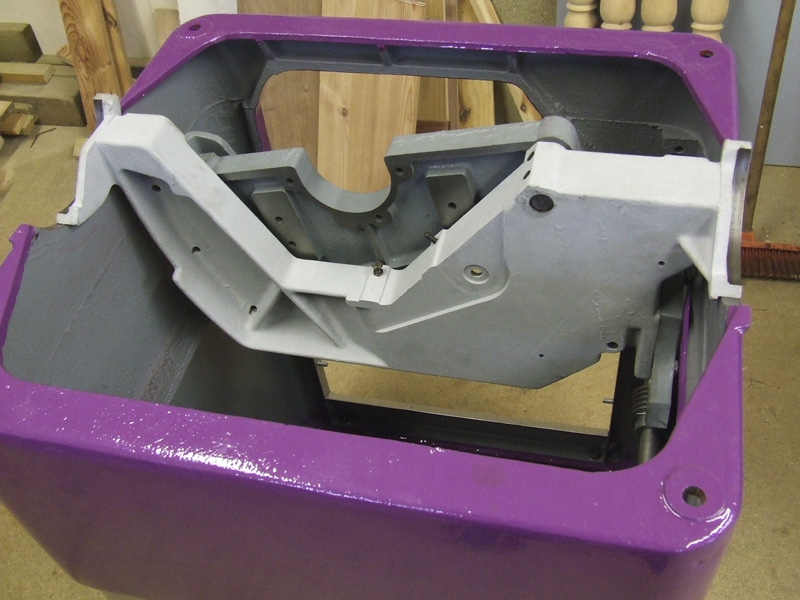
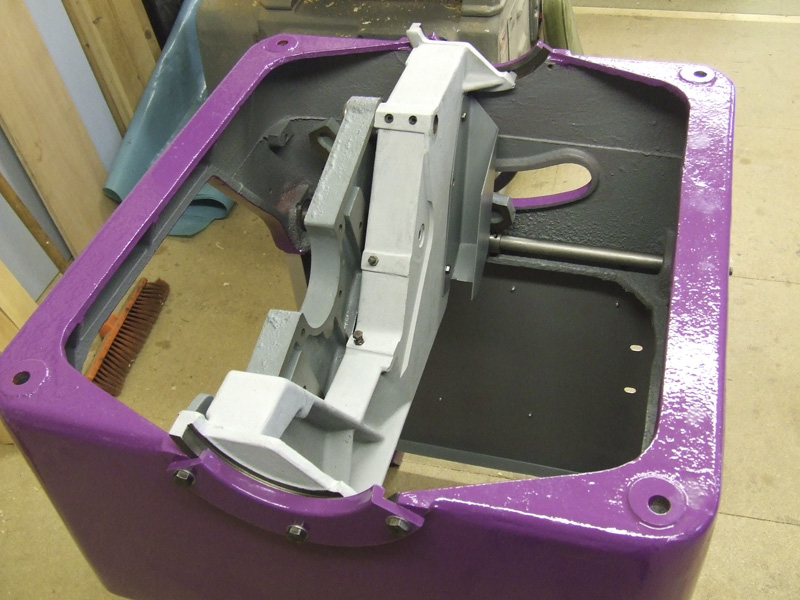
Next the trunnion bracket was lifted into place on to the main frame, and secured with the trunnion trapping brackets.
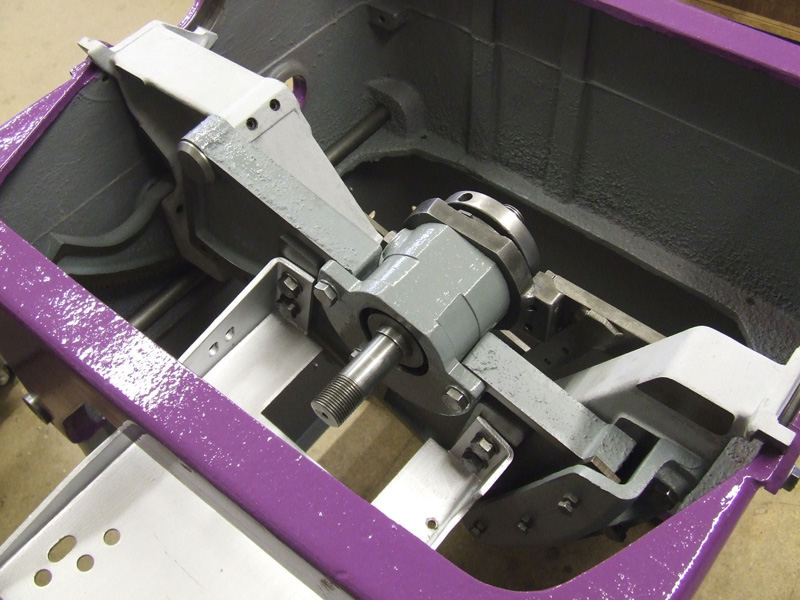
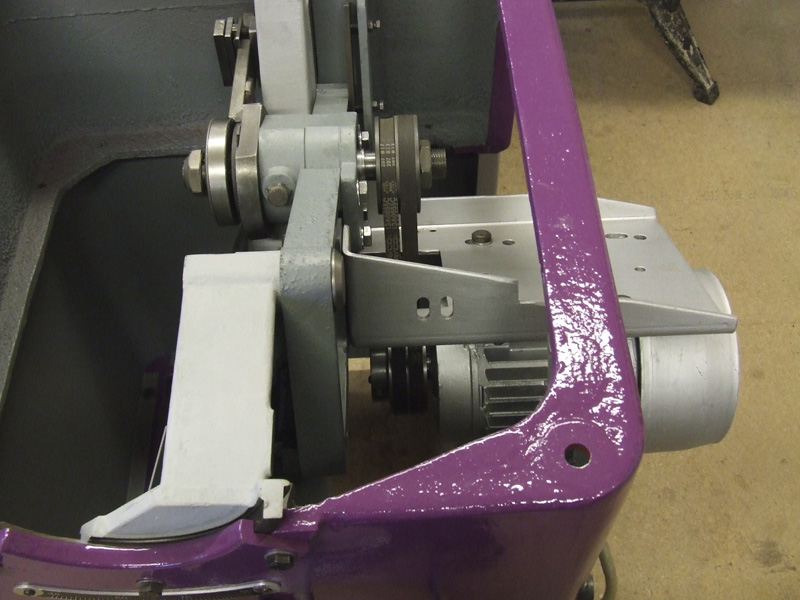
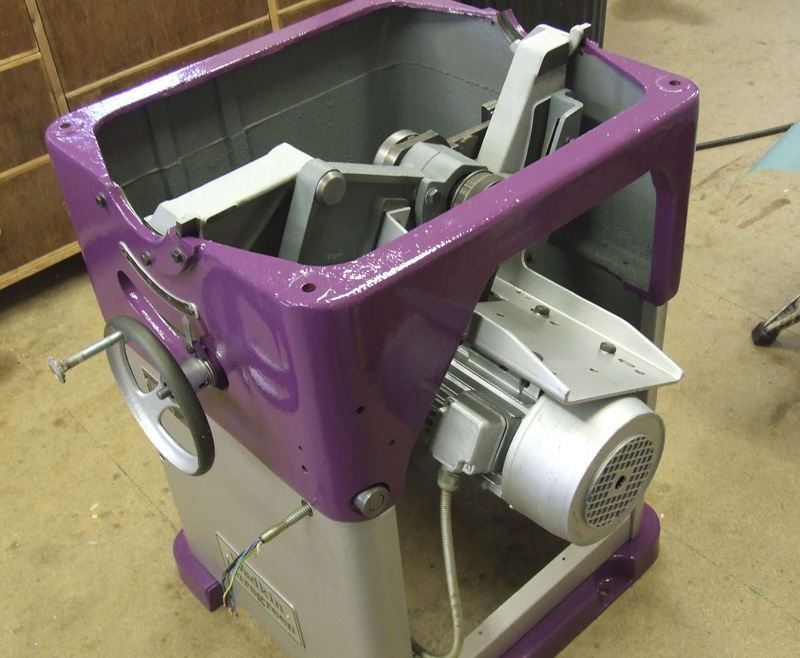
The next couple of photos show the saw spindle assembly and riving knife bracket fitted, along with the motor platform.
I then fitted the spindle pulley and installed the 3hp three-phase motor along with two new drive belts.
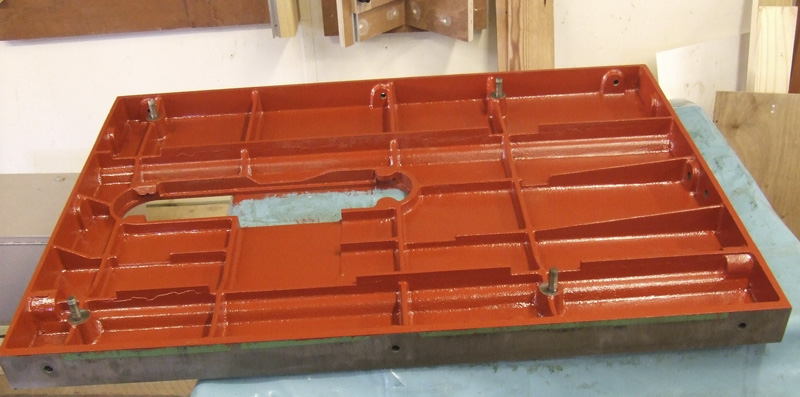
The next job is to fit the main table and align it with the saw blade. Followed by the left and right extension tables. The first image shown is the underside of the main table. I also fitted the dol starter.
The main table is secured from underneath with four 10mm nuts & washers.
The extension tables are secured to the main table with three 10mm bolts & washers. Each extension table incorporates three 6mm grub-screws to assist alignment to the main table.
Now the hand-wheels are re-fitted
Fence rail, fence and fence support bracket are fitted
And the finger plate and riving knife
Finally, here is the refurbished machine completed and ready to give many, many years of service.
